On our way home from the farmer’s market today, we crossed paths with a lady who was taking her cute black Labrador Retriever for a walk. She was wearing a great pair of rubber rain boots covered in pictures of Labs. I complemented her on the fun footwear.
As we walked away, I thought to myself: that lady must really love dogs.
I have an affectionate, long-haired, black cat named Merlot. And I think it would be a hoot to have a pair of rubber rain boots covered in pictures of cats.
But, if I ever was to step outside the house wearing feline themed footwear, I would forever be branded a crazy cat lady. Not a lady who must really love cats. Just a crazy cat lady.
It’s an unfortunate double standard, especially since dog owners are just as crazy as us cat owners!
Don’t deny it. You talk to your pooches. Let them follow you into the bathroom. You buy them needless gadgets, beds, clothes, organic treats and Halloween costumes.
Us cat folk don’t have the market cornered on crazy. All pet owners have a little crazy in them.
I guess that’s why I’ve grown accustomed to Merlot curling up on my lap, keyboard or mouse pad whenever I sit down to blog. I’ve learned how to work around her.
Now that the baby is here, I think Merlot has realized that one of the few times I am solo is when I’m on the computer. So blogging isn’t just mommy time, it’s also a time for me to hang out with my favourite feline.
So this blog post is brought to you, in part, by my sidekick Merlot!
I’ve been meaning to try baking Snickerdoodle cookies for such a long time. And I’m glad that I finally did!
Snickerdoodles are a very simple, but delicious. The star ingredients are cinnamon and sugar. The cookies are cakey and moist, and they freeze very well.
I used a recipe from one of my favourite cookbooks, Martha Stewart’s Cookies: The Very Best Treats To Bake And To Share.
These sweet cinnamony treats were a crowd pleaser, so give them a whirl! Enjoy!
Snickerdoodles
(From Martha Stewart’s Cookies: The Very Best Treats To Bake And To Share)
2 ¾ cups all-purpose flour
2 teaspoons baking powder
½ teaspoon coarse salt
1 cup unsalted butter, room temperature
1 ½ cups plus 2 tablespoons sugar
2 large eggs
2 teaspoons ground cinnamon
– Preheat oven to 350 degrees F. Sift together flour, baking powder and salt into a bowl. Put butter and 1 ½ cups sugar in the bowl of an electric mixer fitted with the paddle attachment. Mix on medium speed until pale and fluffy, about 3 minutes. Mix in eggs. Reduce speed to low; gradually mix in flour mixture.
– Stir together cinnamon and remaining 2 tablespoons of sugar in a small bowl. Shape dough into twenty 1 ¾ inch balls; roll in cinnamon sugar. Space 3 inches apart on baking sheets lined with parchment paper.
– Bake cookies, rotating sheets halfway through, until edges are golden, 12 to 15 minutes. Let cool on sheets on wire racks.

Merlot the Cat sends her warmest regards!

Sift it baby!

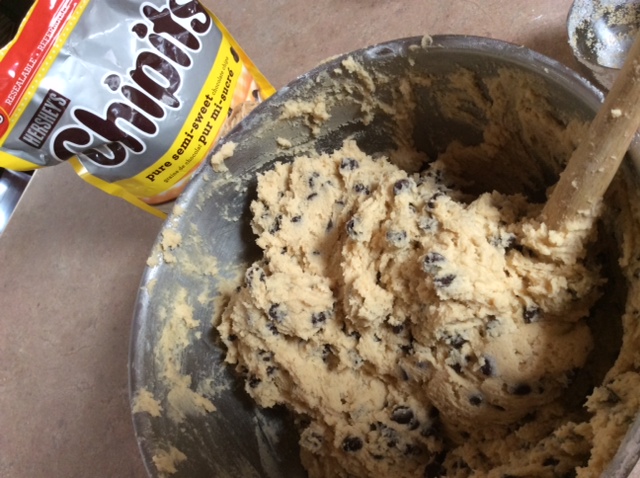
Mix the batter

Shape the dough into Timbit sized balls, then roll in sweet, sweet cinnamon sugar

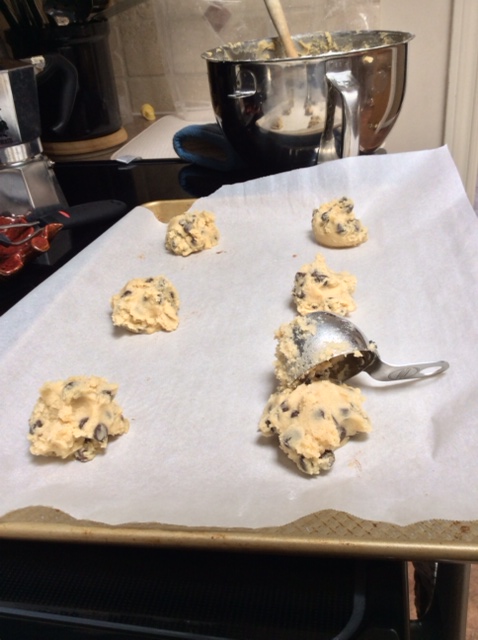
Line ’em up on your baking sheet

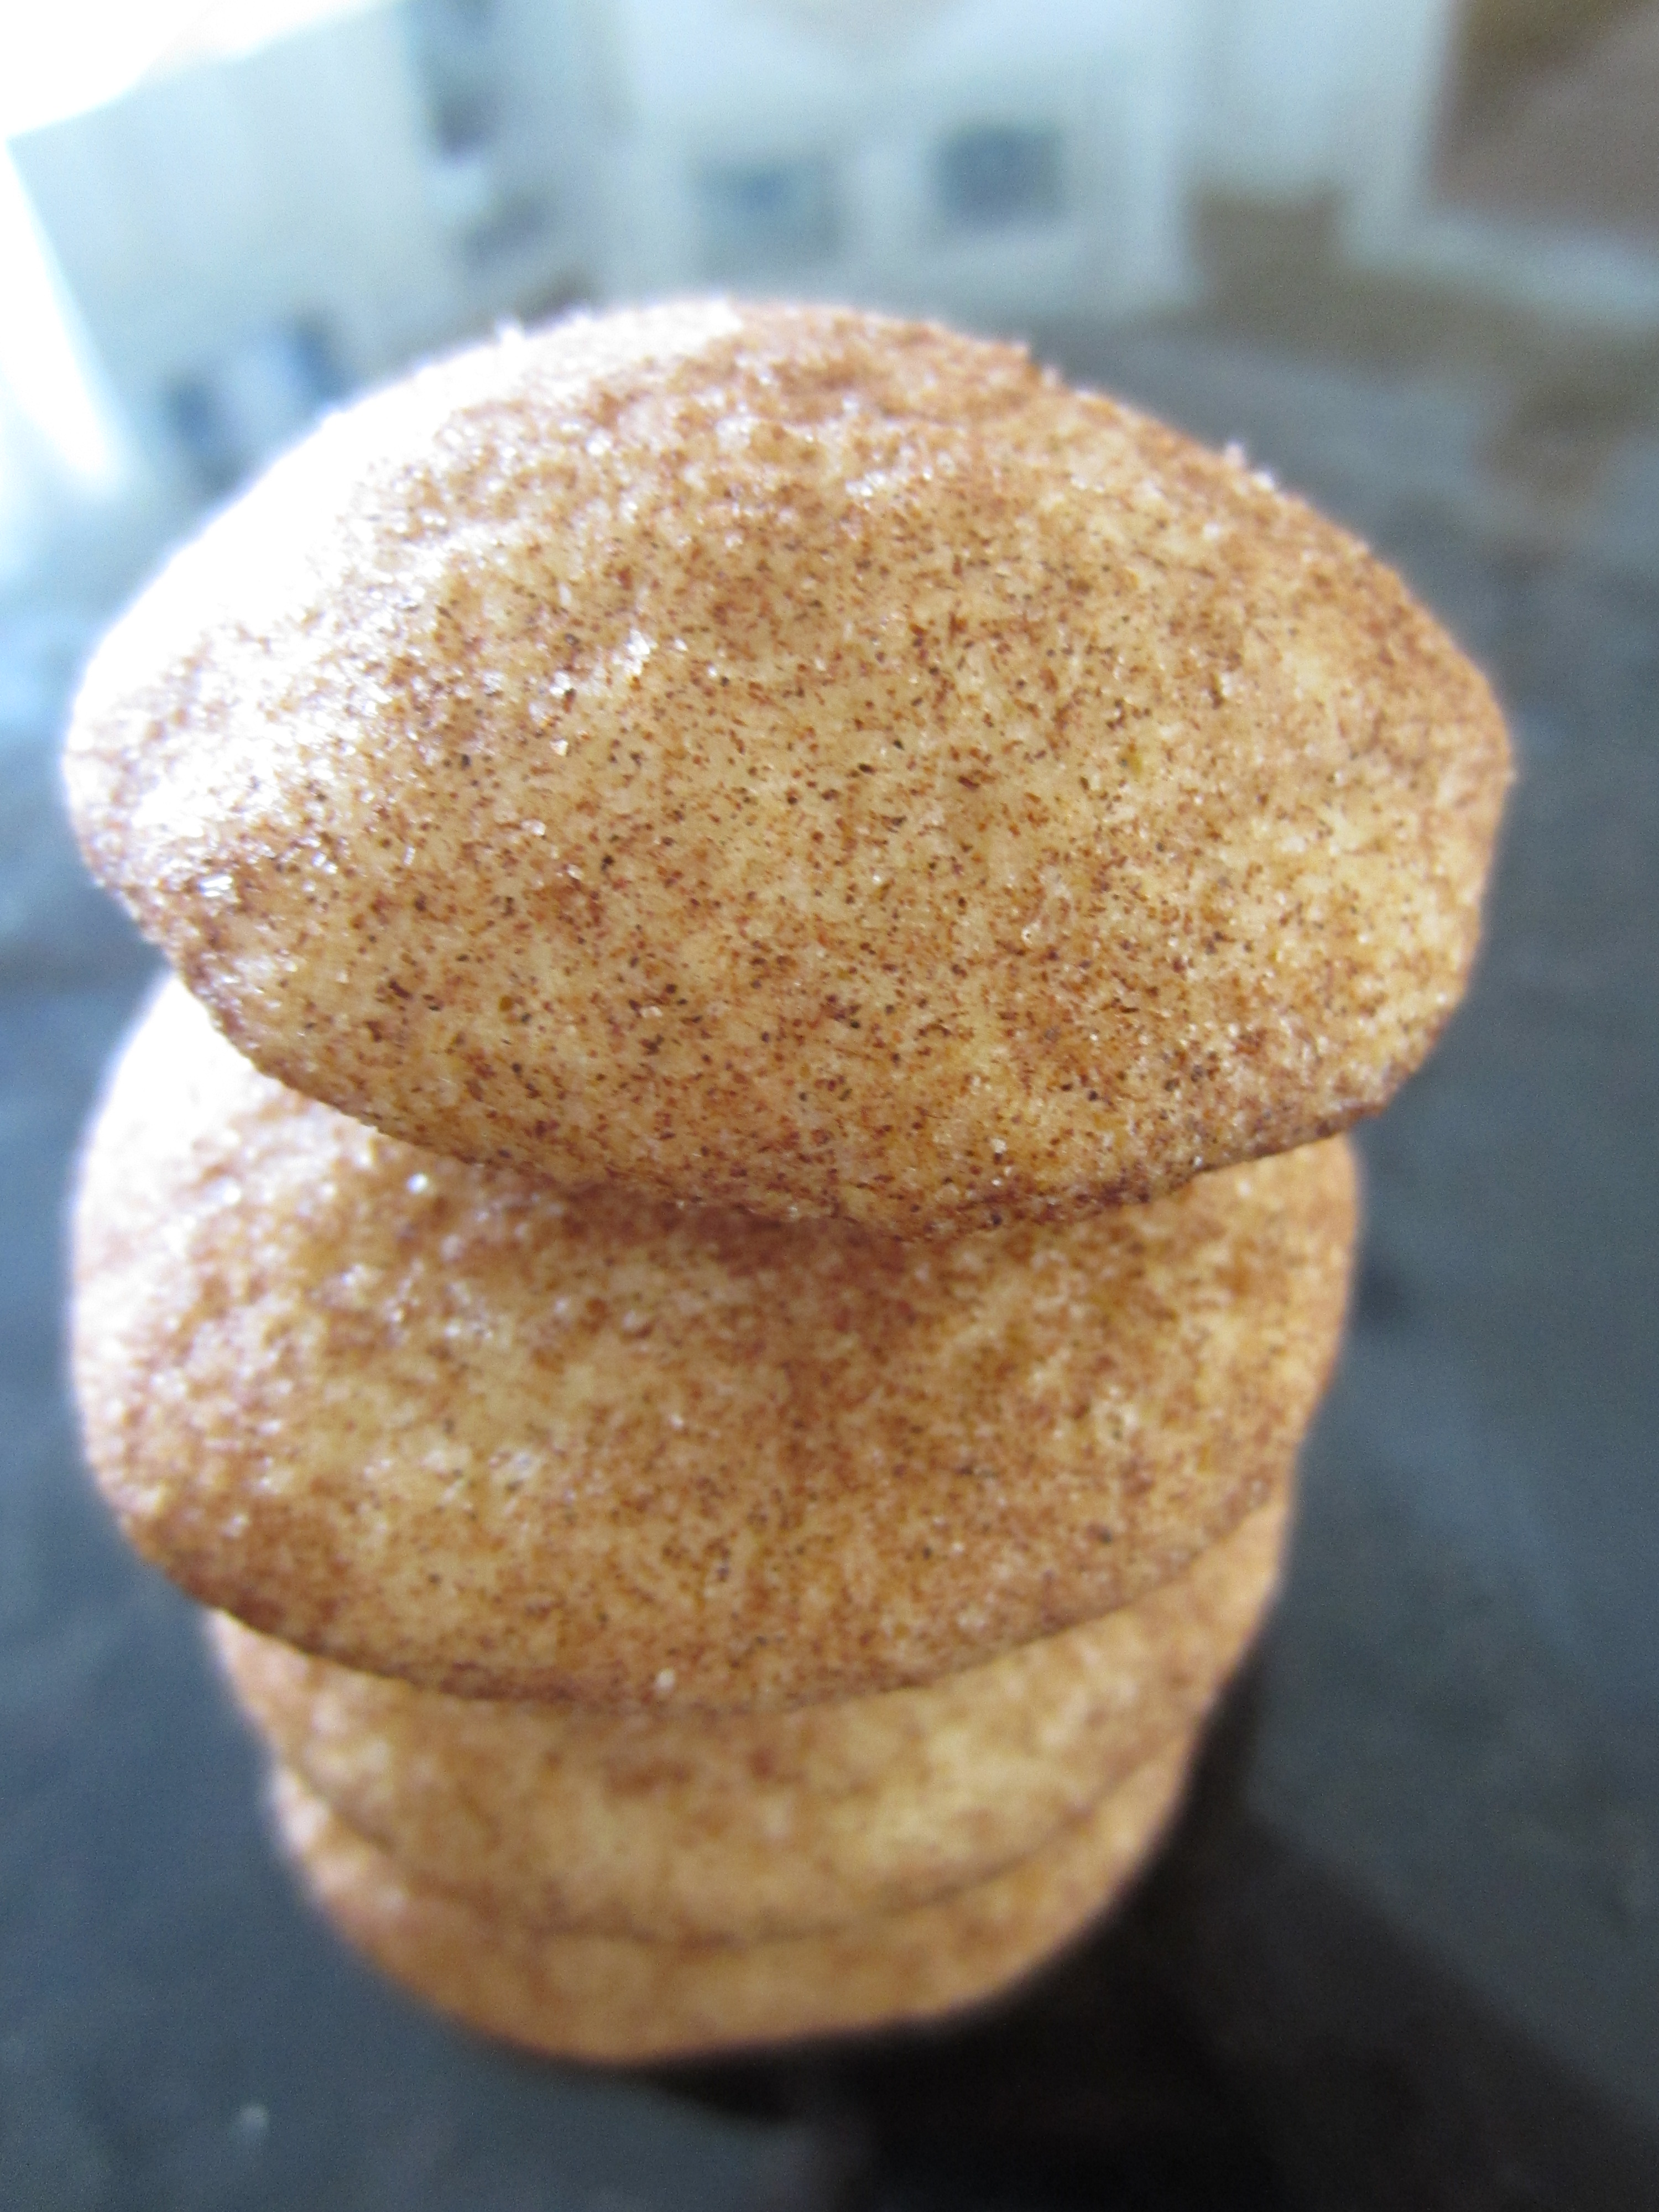
Fresh out of the oven!